How to Wrap Text in Excel?
In this article you will learn how to wrap text in Excel.
What does the Wrap Text feature of Excel do?
Wrap Text in Excel is used to display long text or sentences within a single cell. It allows you to control the display of the text and adjust the column width to ensure that the text fits within the cell. By using Wrap Text, you can ensure that the worksheet looks neat and organized. This is particularly useful when working with large amounts of data or when presenting data to others.
What are some uses of the Wrap Text feature in Excel?
Wrap Text in Excel is a useful formatting feature that can help to improve the readability and appearance of your worksheets. Some of the common uses are listed below:
- Display long text: If you have long text or sentences that cannot fit within a single cell, you can use the wrap text feature to display the text across multiple lines. This ensures that the text is visible in its entirety and prevents it from being truncated.
- Make the content more readable: By wrapping the text, you can make the content of a cell more readable by breaking it into smaller chunks. This makes it easier to scan and understand the content of the cell.
- Format tables: When creating tables in Excel, Wrap Text can be used to format the cells containing the content. This helps to ensure that the table is properly formatted and that the content is visible and easy to read.
How to wrap text in Excel?
To wrap text in Excel, follow these steps:
Step 1: Select the cell or range of cells you want to format.
Step 2: Go to the "Home" tab in the Excel ribbon.
Step 3: Click on the "Wrap Text" button in the "Alignment" group.

Alternatively, you can also use the keyboard shortcut "Alt + H + W" to wrap the text.
Note: Once you have applied the wrap text formatting, any text that exceeds the width of the cell will automatically wrap to the next line. You can adjust the column width to control how the wrapped text appears in the cell. To do this, simply drag the column boundary to the left or right until the text is displayed the way you want it.
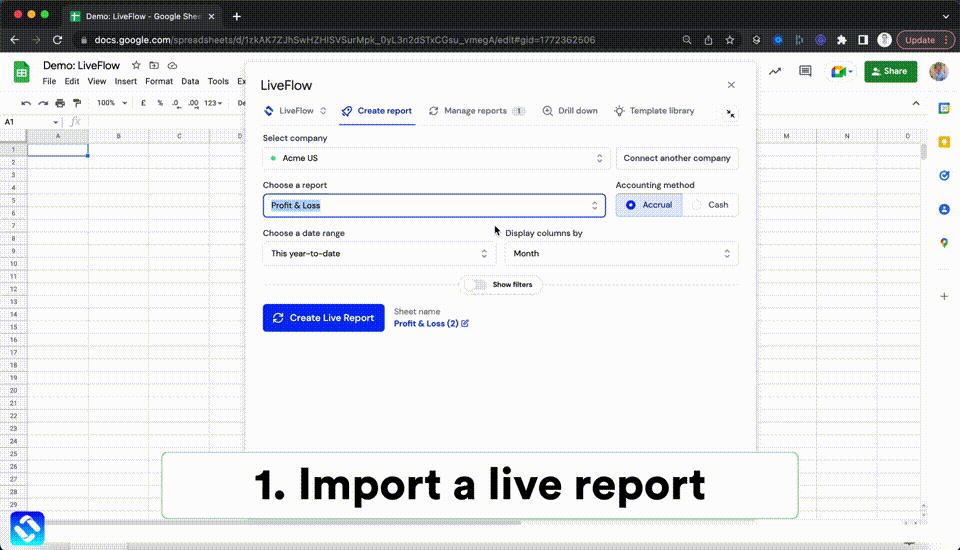
Analyze your live financial data in a snap in Google Sheets
Are you learning this formula to visualize financial data, build a financial model, or conduct financial analysis? In that case, LiveFlow may help you automate manual workflows, update numbers in real-time, and save time. You can access various financial templates on our website, from the simple Income Statement to Multi-Currency Consolidated Financial Statement. Are you interested in this product but are an Excel user? That’s not a problem at all. You can connect Google Sheets to Excel quickly.
To learn more about LiveFlow, book a demo.
You can learn about other Excel and Google Sheets formulas and tips that are not mentioned here on this page: LiveFlow‘s How to Guides

