How to Add and Remove Borders in Excel (Basic Guide with Pictures)
In this article, you will learn how to add and clear borders from more than one adjacent and non-adjacent cells in Excel.
Why would cells need to be bordered in Excel?
Cells are often bordered in Excel for several reasons, such as:
Emphasizing data: Borders can draw attention to specific cells or ranges of cells that contain important data. This is especially useful when presenting data in a table or chart format in Excel.
Improving readability: Inserting borders in Excel can improve the readability of the data by making it easier to distinguish between rows and columns.
Organizing data: Borders can be used to create separate sections within an Excel worksheet or to group related data together.
Enhancing visual appeal: Borders can be used to add a professional and polished look to an Excel workbook.
Overall, inserting borders to cells in Excel is a simple but effective way to improve the appearance and functionality of a spreadsheet, making it easier to read, understand, and present data.
How to add borders to a cell in Excel?
Step 1: Select the cell by left-clicking on the cell
Learn how to select multiple (adjacent and non-adjacent) cells here: How to Select Multiple Cells in Excel (Beginner's Guide)
Step 2: Select the ‘Home’ option from the Excel toolbar. Then, click on the ‘Border’ button and select the required border style from the drop-down list as shown in the image below.
Alternatively, you can also use the keyboard shortcut by pressing the “ALT” + “H” + “B” keys. This will display the drop-down list of available border styles.
You will notice that each border style has a small icon along with the name, which displays an example of the border style.

Step 3: Based on the border style selected, the cells selected in step 1 will appear with a border around them
For example: If you selected the ‘All Borders’ option from the drop-down menu in step 2, then all the cells will be bordered as shown in the image below.

Note 1: The ‘Line Color’ option allows you to change the color of cell borders in Excel.

Note 2: The ‘Line Style’ option allows you to change the style of cell borders in Excel.

How to remove borders from a cell in Excel?
Step 1: Select the cell from which you wish to clear the border
Learn how to select multiple (adjacent and non-adjacent) cells here: How to Select Multiple Cells in Excel (Beginner's Guide)
Step 2: Select the ‘Home’ option from the Excel toolbar
Step 3: Click on the ‘Border’ button and select the ‘No Border’ option from the drop-down list as shown in the image below
Alternatively, you can also use the keyboard shortcut by pressing the “ALT” + “H” + “B” keys. This will display the drop-down list of available border styles, from which you can select the ‘No Border’ option.

Borders will be cleared from the cells as shown in the image below.

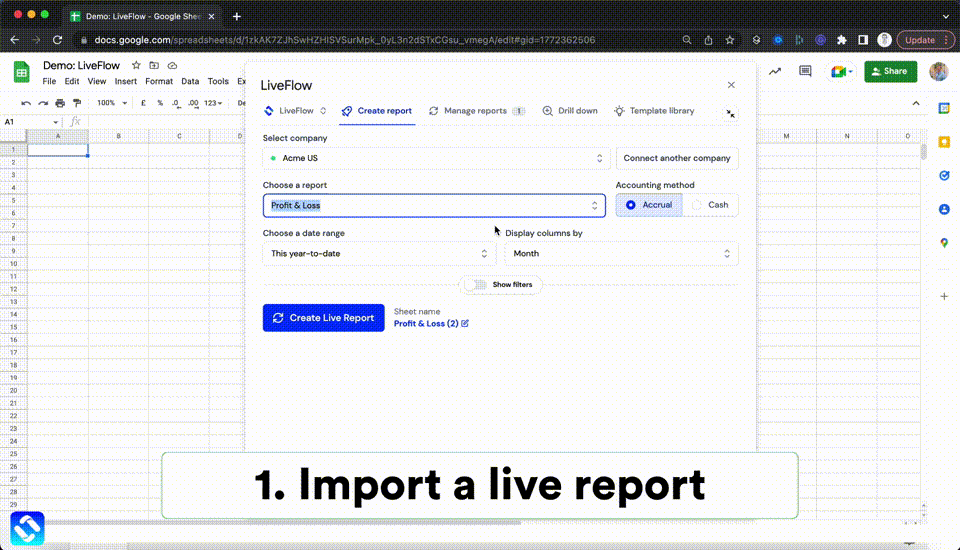
Analyze your live financial data in a snap in Google Sheets
Are you learning this formula to visualize financial data, build a financial model, or conduct financial analysis? In that case, LiveFlow may help you automate manual workflows, update numbers in real-time, and save time. You can access various financial templates on our website, from the simple Income Statement to Multi-Currency Consolidated Financial Statement. Are you interested in this product but are an Excel user? That’s not a problem at all. You can connect Google Sheets to Excel quickly.
To learn more about LiveFlow, book a demo.
You can learn about other Excel and Google Sheets formulas and tips that are not mentioned here on this page: LiveFlow‘s How to Guides

