Data Validation in Excel: Explained
In this article you will learn the Data Validation features in Excel and how to use them.
What does the Data Validation feature in Excel do?
The Data Validation feature in Excel allows you to control what type of data is entered into a cell or range of cells. It helps you to ensure that the data entered into a cell or range of cells meets specific criteria or conditions. The Data Validation feature can be used to restrict the type of data entered, set specific values or ranges for the data, and provide custom error messages when invalid data is entered.
What are some applications of the Data Validation feature?
Here are some examples of how you can use the Data Validation feature in Excel:
- Restrict data input: You can use Data Validation to restrict the type of data entered into a cell or range of cells, such as text, whole numbers, decimals, dates, or times. For example, you can ensure that a cell only accepts values between 1 and 100 or a cell only accepts dates in a specific format.
- Set specific values or ranges: Data Validation sets specific values or ranges for the data entered into a cell or range of cells. For example, you can create a drop-down list of options for a cell, so users can only choose from a pre-defined list of values.
- Provide custom error messages: You can use Data Validation to provide custom error messages when invalid data is entered into a cell or range of cells. For example, you can display an error message if a user tries to enter a value outside of a specified range or if they enter text instead of a number.
- Prevent duplicate values: Data Validation can be used to prevent users from entering duplicate values in a cell or range of cells. This is particularly useful when working with large datasets where duplicate values can cause issues.
Overall, the Data Validation feature in Excel helps you to ensure that the data entered into your worksheet is accurate, consistent, and in the correct format. This can help to prevent errors, reduce the time needed to clean up data, and improve the overall quality of your data.
How to use the Data Validation feature in Excel?
You can use the Data Validation feature in Excel to restrict the type of data that can be entered into a cell or range of cells. Here are the steps to use Data Validation in Excel:
Step 1: Select the cell or range of cells that you want to apply Data Validation to.
Step 2: Go to the "Data" tab in the Ribbon and click on the "Data Validation" button.

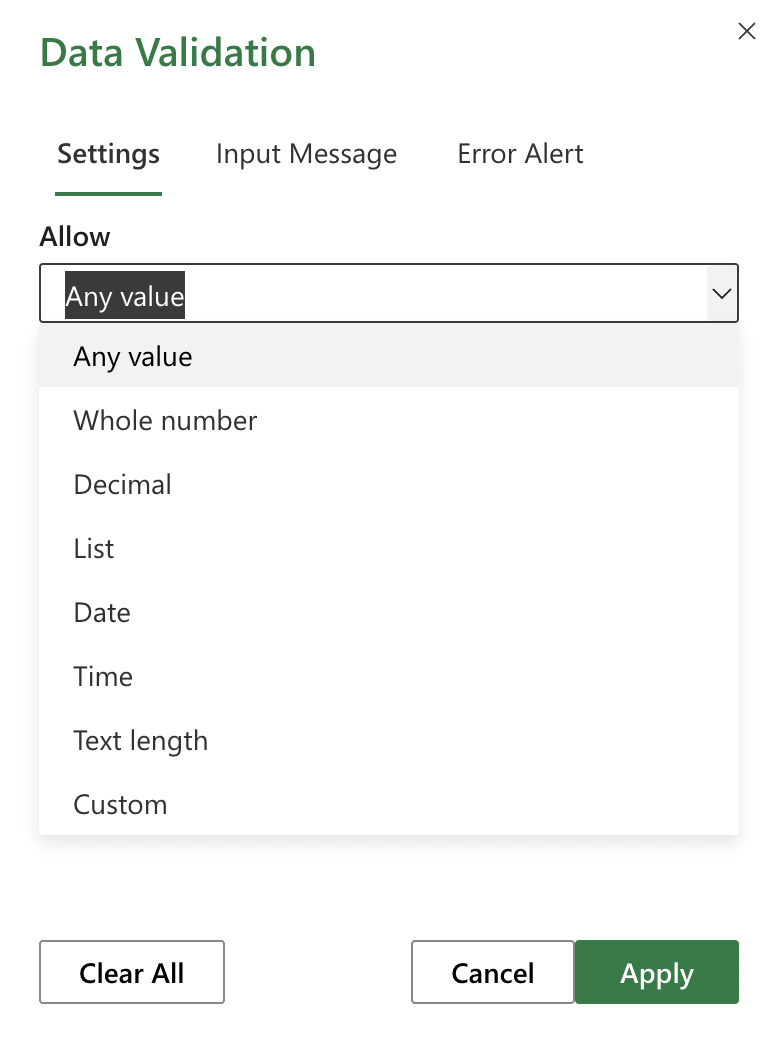
Step 3: In the "Data Validation" dialog box, select the type of data that you want to allow in the "Allow" dropdown menu. For example, you can choose "Whole number" if you only want to allow whole numbers in the cell.
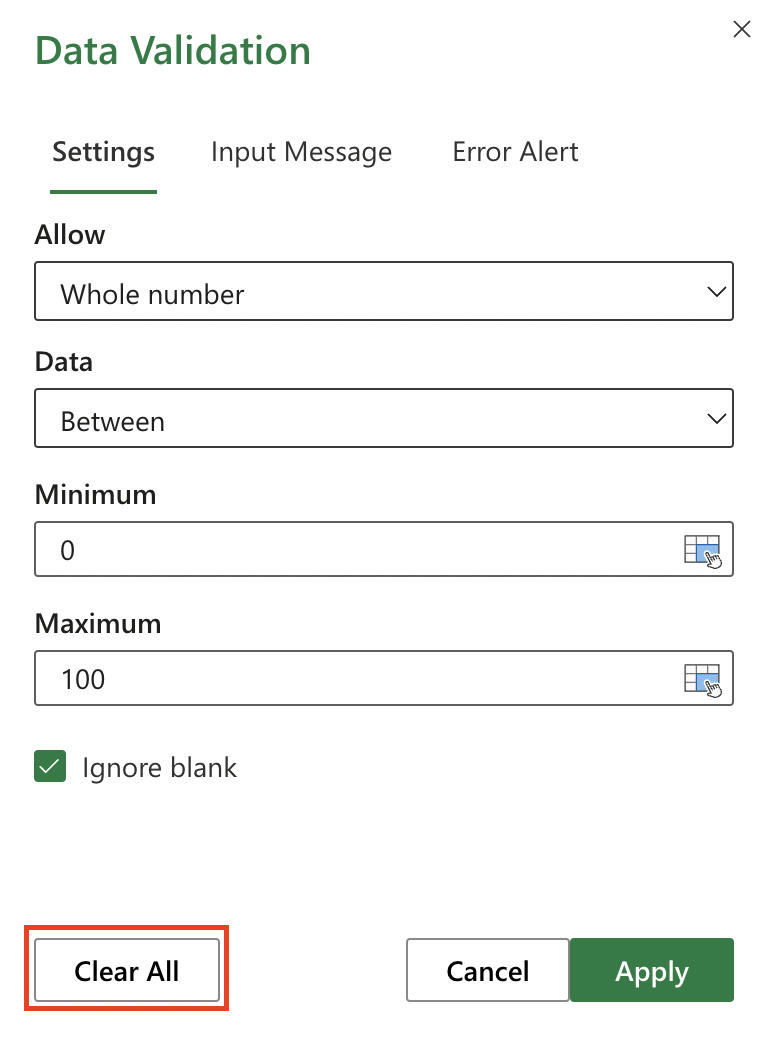
Step 4: Depending on the type of data you chose, additional options will be displayed. For example, if you chose "Whole number", you can set the minimum and maximum values that are allowed in the cell.
Step 5: If you want to create a drop-down list of options for the cell, select "List" in the "Allow" dropdown menu, and enter the options in the "Source" field, separated by commas.

Step 6: If you want to provide a custom error message when invalid data is entered, go to the "Error Alert" tab and select "Show error alert after invalid data is entered". Enter a title and error message in the text boxes provided.

Step 7: Click "Apply" to apply the Data Validation to the selected cell or range of cells.
Once the Data Validation is applied, the cell or range of cells will only accept the type of data that you specified. If a user tries to enter invalid data, they will see an error message, and the data will not be accepted until a valid entry is made.
How to remove Data Validation from a cell or range of cells ?
You can modify or remove Data Validation from a cell or range of cells at any time by selecting the cell or range of cells, clicking on the "Data Validation" button, and making the desired changes or selecting "Clear All" to remove Data Validation entirely.

Analyze your live financial data in a snap in Google Sheets
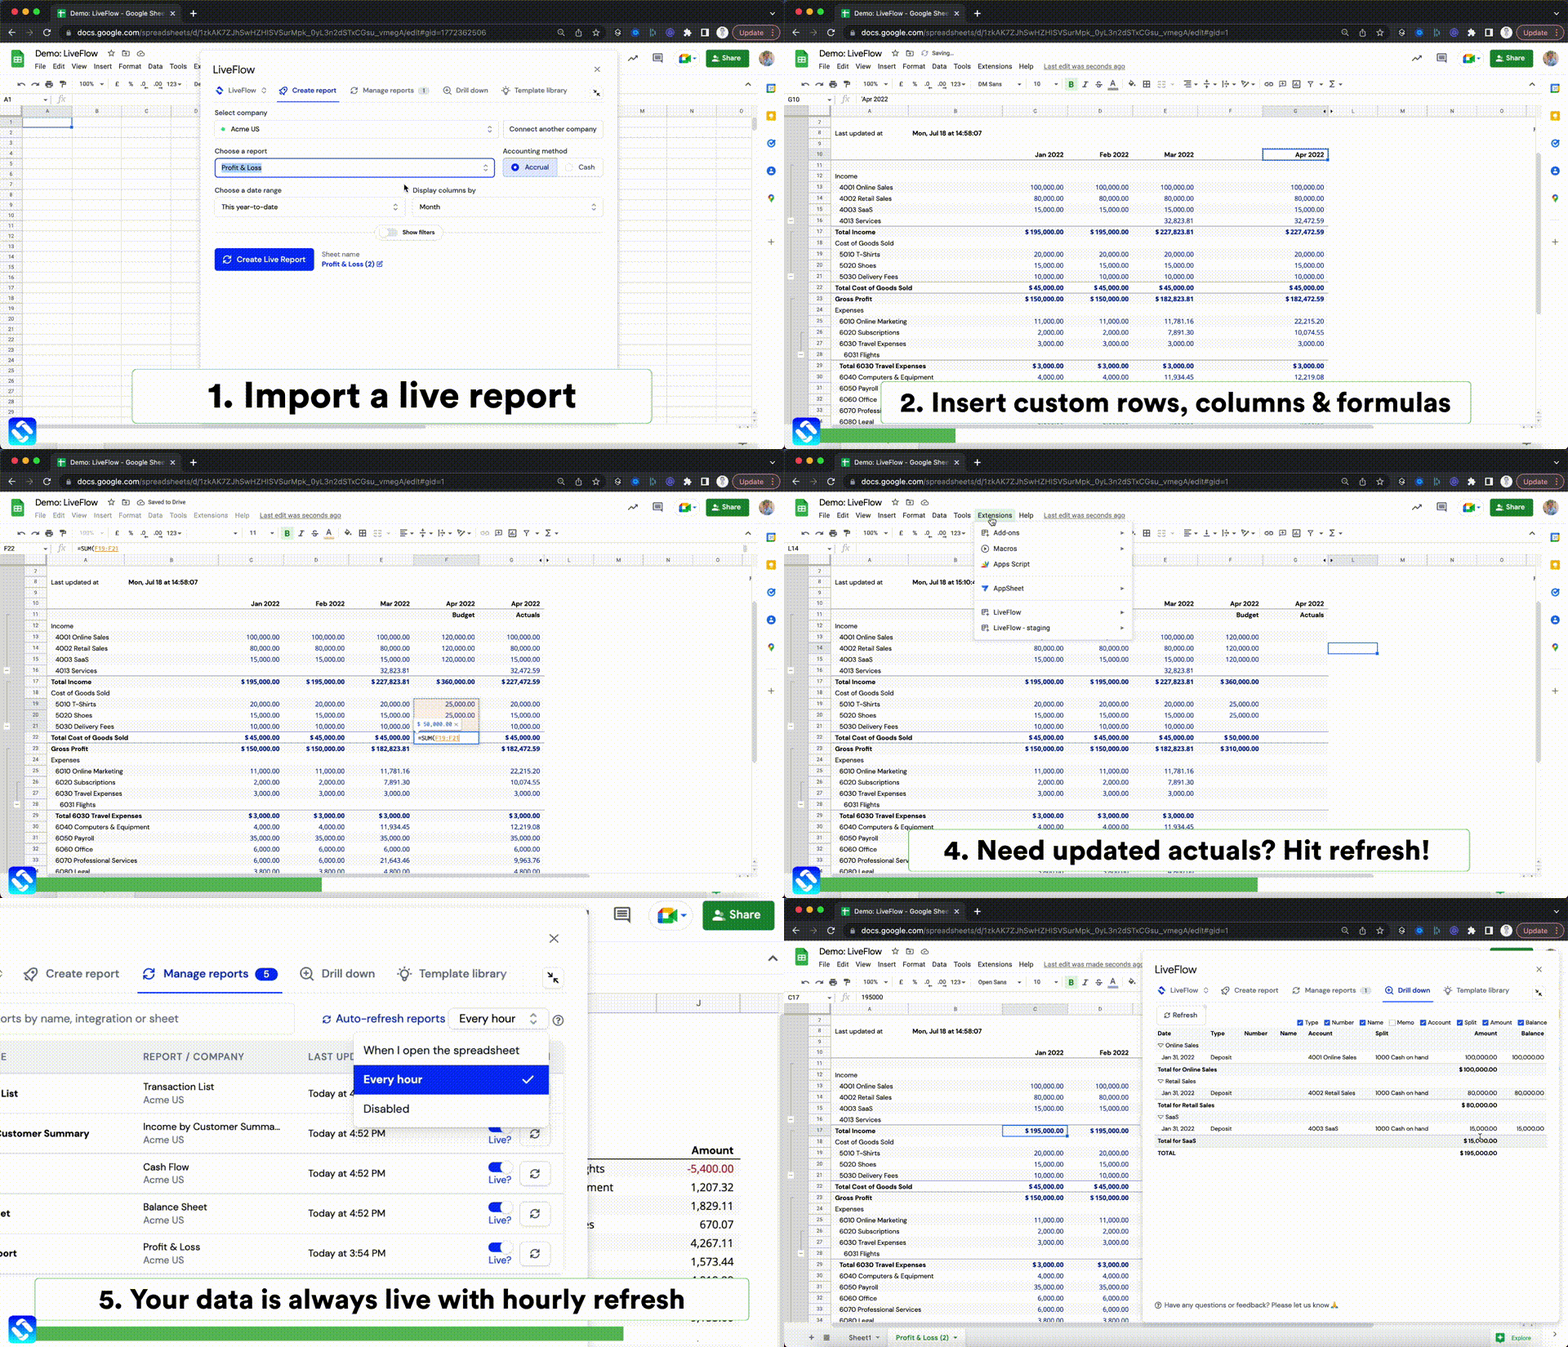
Are you learning this formula to visualize financial data, build a financial model, or conduct financial analysis? In that case, LiveFlow may help you automate manual workflows, update numbers in real-time, and save time. You can access various financial templates on our website, from the simple Income Statement to Multi-Currency Consolidated Financial Statement. Are you interested in this product but are an Excel user? That’s not a problem at all. You can connect Google Sheets to Excel quickly.
To learn more about LiveFlow, book a demo.

You can learn about other Excel and Google Sheets formulas and tips that are not mentioned here on this page: LiveFlow‘s How to Guides

